+1.585.321.5800
Backing-up and Restoring Configuration Files
Once SecureSync has been configured, it may be desired to back up the configuration files to a PC for off-unit storage. If necessary in the future, the original configuration of the SecureSync can then be restored into the same unit.
The capability to backup and restore configurations also adds the ability to “clone” multiple SecureSync units with similar settings. Once one SecureSync unit has been configured as desired, configurations that are not specific to each unit (such as NTP settings, log configs, etc.) can be backed up and loaded onto another SecureSync unit for duplicate configurations.
There are several configuration files that are bundled in one file for ease of handling.
Note: For security reasons, configurations relating to security of the product, such as SSH/SSL certificates, cannot be backed up to a PC.
Accessing the System Configuration Screen
The System Configuration Screen provides comprehensive information about hardware and software status. To access the System Configuration screen:
- Navigate to TOOLS > SYSTEM: Upgrade/Backup.
- The System Configuration screen will display:

The System Configuration screen consists of
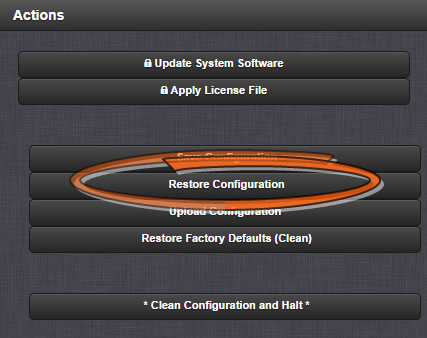
The Actions panel is used for updating the system software, managing license files, saving and restoring the configuration files, and restoring the factory defaults.
The System Configuration panel provides the following information:
- System—The model name of this unit, and the software version currently installed.
- Model—The model number of this unit.
- Serial Number—The serial number of this unit.
- Power Supply—The type of power supply installed in this unit. This can be AC, DC or both.
- Oscillator—The type of internal timing oscillator installed in this unit.
- Timing Processor—The timing processor in use with this unit.
- GNSS Receiver—The GNSS receiver in use with this unit.
- HW Slots 1–6—The Option Cards installed in this unit.
- Option—The optional features also included on this unit.
The upgrade log is a running log of system upgrades, used for historical and troubleshooting purposes. It can be expanded by clicking on the DIAGONAL ARROWS icon in the top-right corner:
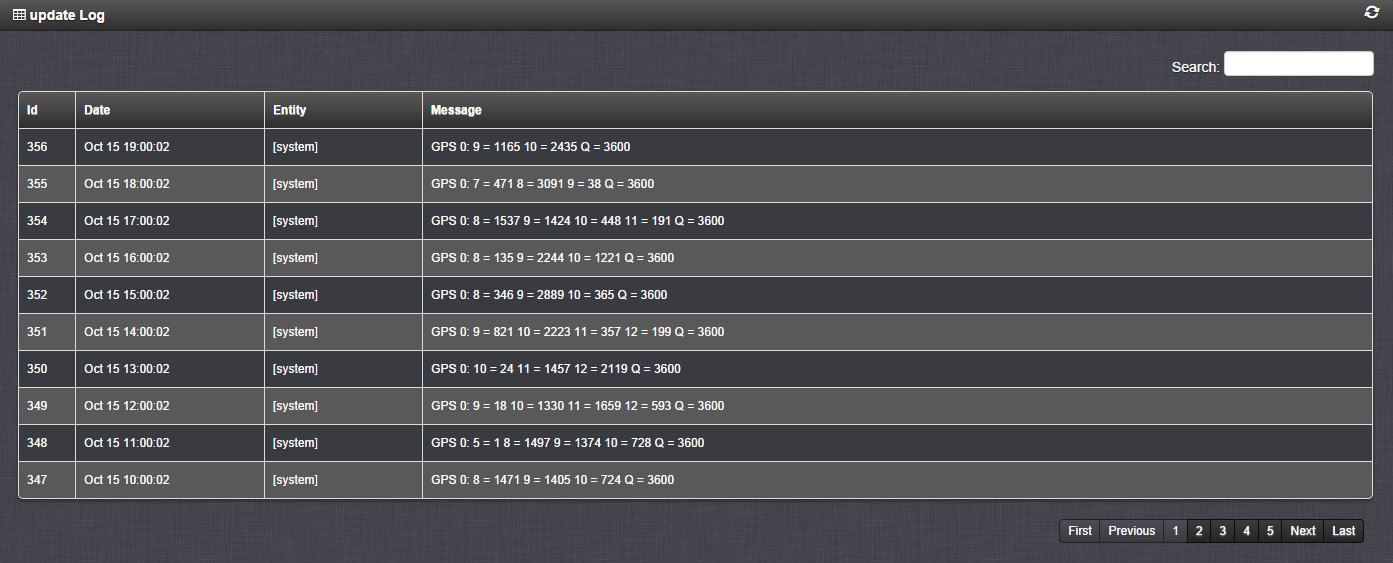
Each log entry is comprised of a unique ID, the date the entry was created, the originator of the entry, and the actual message. Refresh the log by clicking the CIRCLE ARROWS icon in the top-right corner. Go to the First, Last, or Previous entries by clicking the corresponding buttons in the bottom-right corner.
The Disk Status panel provides information on the
The Disk Health panel provides information about the remaining life that is present on your disk.
This panel provides version information on the different SW components utilized by the system.
Saving the System Configuration Files
To save (back up) the system configuration files:
- Navigate to TOOLS > SYSTEM: Upgrade/Backup.
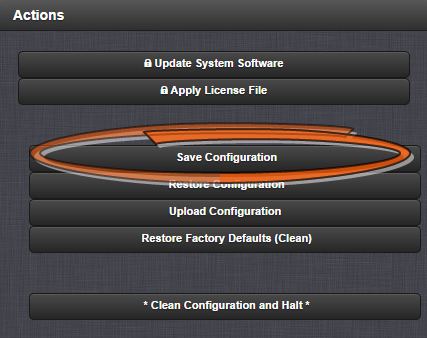
- In the Actions panel, click the Save Configuration button.
- Click OK in the grey confirmation window that displays.
- Save the configuration file to a directory where it will be safe. SecureSync simultaneously saves a file at
/home/spectracom/xfer/config/securesync.conf
Uploading Configuration Files
To upload configuration files from a PC:
- Navigate to TOOLS > SYSTEM: Upgrade/Backup.
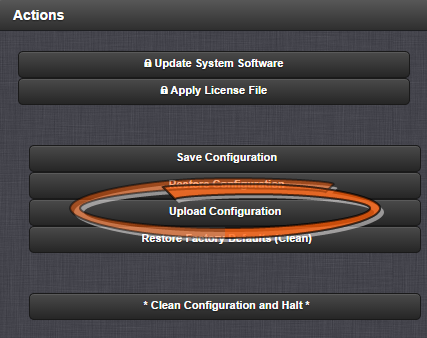
- In the Actions panel, click the Upload Configuration button.
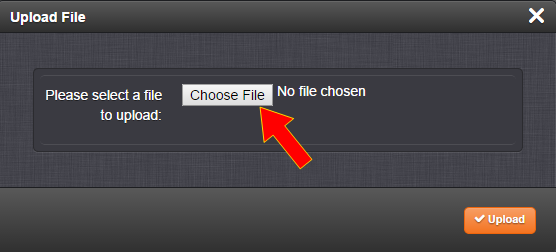
- Click Choose File in the window that displays, and navigate to the directory on your PC where the bundled file is stored.
- Click the Upload button. SecureSync saves the uploaded bundled file in the
/home/spectracom/xfer/config/directory. - To use the new configuration file for this SecureSync, click the Restore Configuration button, and follow the procedure described under Restoring the System Configuration.
Note: When uploading files remotely via long distances, or when uploading multiple files via several browser windows simultaneously, the upload process may fail to complete. In this case, cancel the upload by clicking X, and go back to Step 2.
Restoring the System Configuration
To restore the System Configuration:
- Navigate to TOOLS > SYSTEM: Upgrade/Backup.
- In the Actions panel, click Restore Configuration.
- Click OK in the grey confirmation window. The system will restore the configuration using the bundled file stored at
/home/spectracom/xfer/config/SecureSync.conf, then reboot in order to read the new configuration file. Once powered back up, SecureSync will be configured with the previously stored file.
Restoring the Factory Defaults
For instructions on how to restore the SecureSync's configuration files to their factory default settings see Resetting All Configurations to their Factory Defaults.