+1.585.321.5800
[6 ]: Top Slot Installation, Bottom Slot Occupied
Instructions for installing an option card into an upper slot (
- Safely power down the SecureSync unit, and remove the top cover of the main chassis (housing). Save the screws.
-
Caution: NEVER install an option card from the rear of the unit, ALWAYS from the top, after removing the chassis cover.
- Remove the blank option card plate, or the existing option card. Save the screws.
- Remove screws securing the card already populating the bottom slot. Save the screws.
-
Screw the 18-mm standoffs into the option card populating the bottom slot (see Figure below) , applying a torque of 0.9 Nm/8 in-lbs.

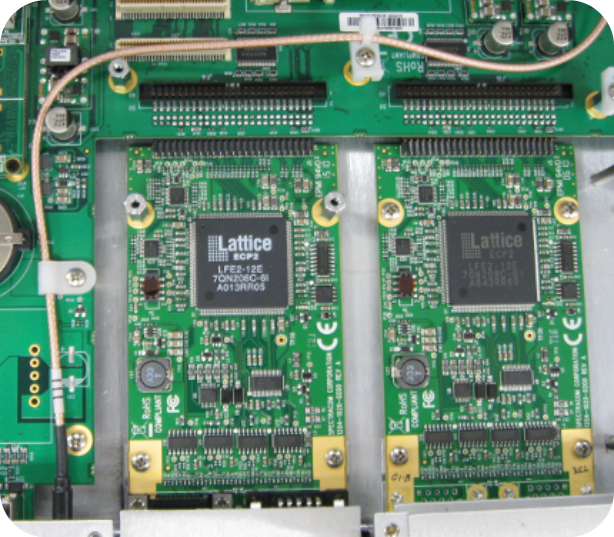
Bottom card with standoffs installed
- Insert option card into the slot above the existing card, lining up the screw holes with the standoffs.
- Using the supplied M3 screws, screw the board into the standoffs, and the option plate into the chassis, applying a torque of 0.9 Nm/8 in-lbs.
-
Take the supplied 50-pin ribbon cable and carefully press it into the connector on the

Ribbon cable installation
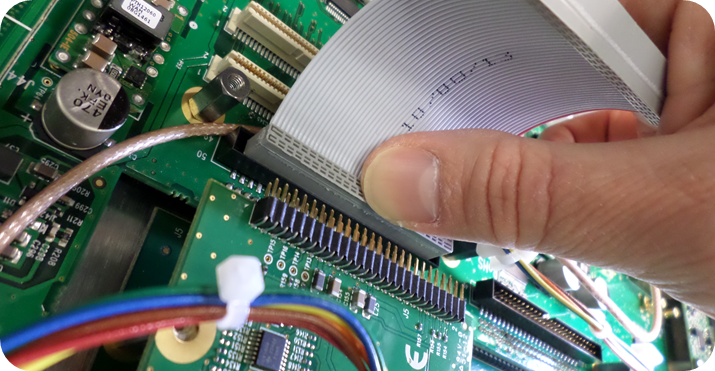
Caution: Ensure that the ribbon cable is aligned and fastened properly to all pins on the connector of the card. Otherwise, damage to equipment may result during power up.